


Most belt sander accidents and most ruined boards have the same cause: the tool gets switched on before anyone has checked it. A belt fitted backwards, a board that is not clamped, a dust bag still full of fine wood dust when someone starts sanding steel. None of these takes more than a few seconds to fix, and all of them come before the first pass. That is what learning how to use a belt sander properly is really about. Technique on the surface matters, but the checks before the motor starts and the way you hold and move the machine decide most of the result. This guide covers both, plus the signs that tell you something is off and what changes when the work moves from wood to metal.
What Using a Belt Sander Properly Really Means
Of every kind of sander, the belt sander removes material fastest, which is exactly why small mistakes show up so quickly. Used properly, it does three things at once. It leaves a flat surface without dips or burn marks, it keeps the operator’s hands and eyes safe, and it gets full life from every belt. When one of those slips, the other two usually follow. A sander that is pressed too hard burns the wood, wears the belt and gets harder to control, all in the same moment.
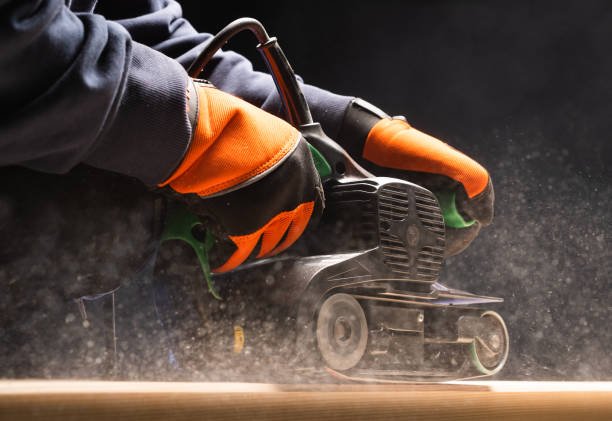
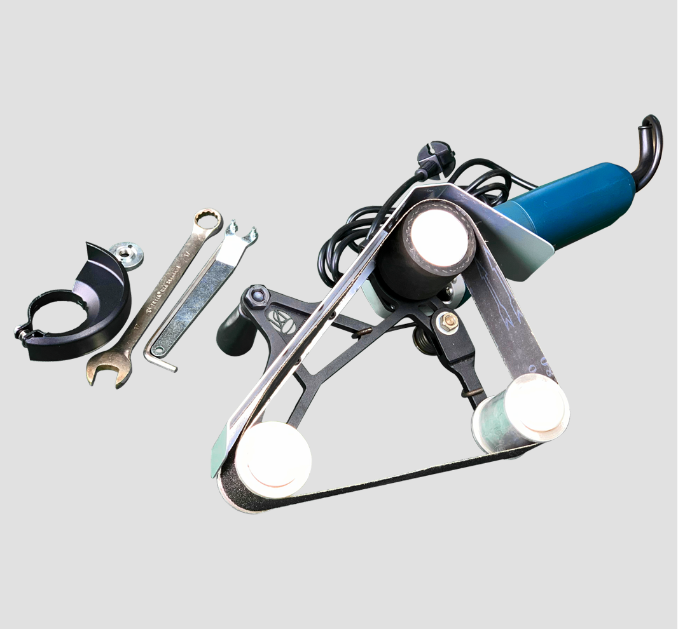
Belt Sander
The basic sequence of fitting a belt, switching on and working through the grits is the same for everyone, and how to use a belt sander step by step walks a beginner through it. What separates proper use from ordinary use is the handful of checks and habits below, and they apply whether you own a small handheld sander or a heavy one.
How to Use a Belt Sander Properly Before the Motor Starts
Unplug the sander for every check in this section. A sander plugged in with its trigger lock on starts the instant it gets power, and a moving belt pulls skin in faster than anyone can react.
Check the Arrow Inside the Belt
Most belts have an arrow printed on the inside. The two ends of the belt overlap at the joint, and the arrow makes sure that overlap trails behind as the belt moves. Fit the belt with the arrow pointing the same way the rollers turn, which is usually marked on the sander body. A belt running backwards catches its joint on the work and can snap within minutes.
Set the Tracking So the Belt Runs in the Middle
Plug in, hold the sander upside down or on its side with the belt clear of everything, and pulse the trigger. Watch the belt. If it creeps toward one edge, turn the tracking knob a little and try again until it stays centred. A belt that rubs the housing frays its edge and throws the machine off balance.
Clamp the Work and Clear Away Nails and Screws
A belt sander drives the workpiece backwards with real force, so clamp the board or set it against a stop. Run a hand over the surface first. Nail heads, screws and staples tear belts instantly, and hardened glue melts into the grit.
Keep the Cord Behind You and Empty the Dust Bag
Lay the power cord over your shoulder or behind the work so the belt can never run over it. Empty the dust bag or connect a shop vacuum. Put on safety glasses, hearing protection and a dust mask before switching on.
Holding and Moving the Sander the Right Way
Once the machine is running, the way you stand and hold it matters more than the grit on the belt.
Two Hands on the Handles and Your Body Behind the Tool
Keep one hand on the rear handle and trigger and the other on the front knob. Stand so you can move the sander along the full length of the board without leaning over it or reaching across the belt. If you have to stretch, stop and move your feet.
Land the Sander Flat and Lift It Off Before You Stop
Let the belt reach full speed in the air, then set the sander down flat and keep it moving at an even pace. Let the weight of the machine do the cutting. When you finish a pass, lift it clear while it is still running, and only then release the trigger. Waiting for the belt to stop before setting the sander down stops it from walking across the bench.
Using a Belt Sander on Metal Without Starting a Fire
Many people use the same sander on wood and on steel. That is fine, but the change needs one important step. Sanding steel throws hot sparks, and a dust bag full of fine wood dust is exactly the kind of fuel those sparks can light. Before any metal work, empty the bag completely, blow the dust out of the housing, and ideally remove the bag altogether.
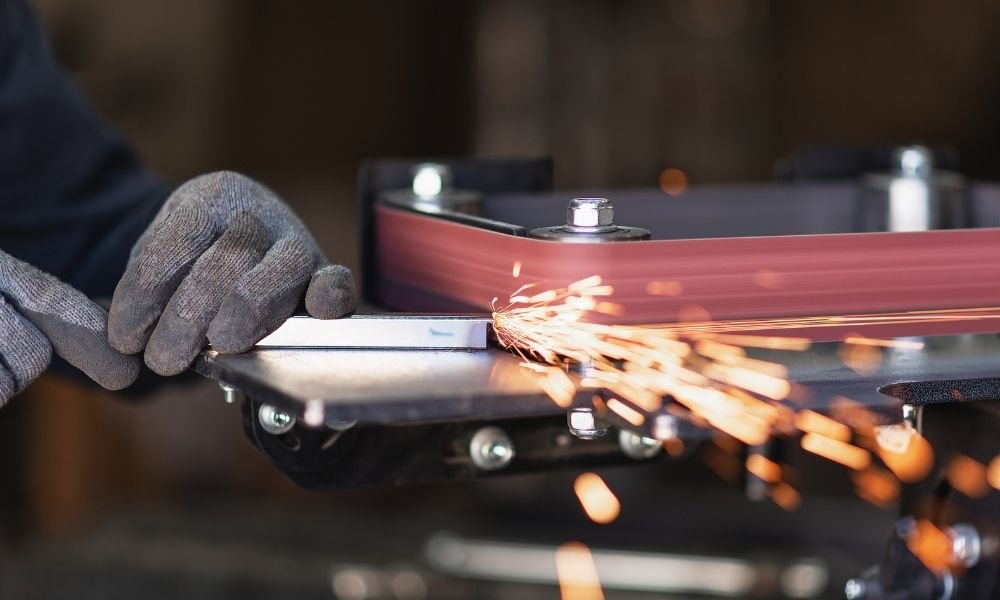
Belt Sander Used On Metal
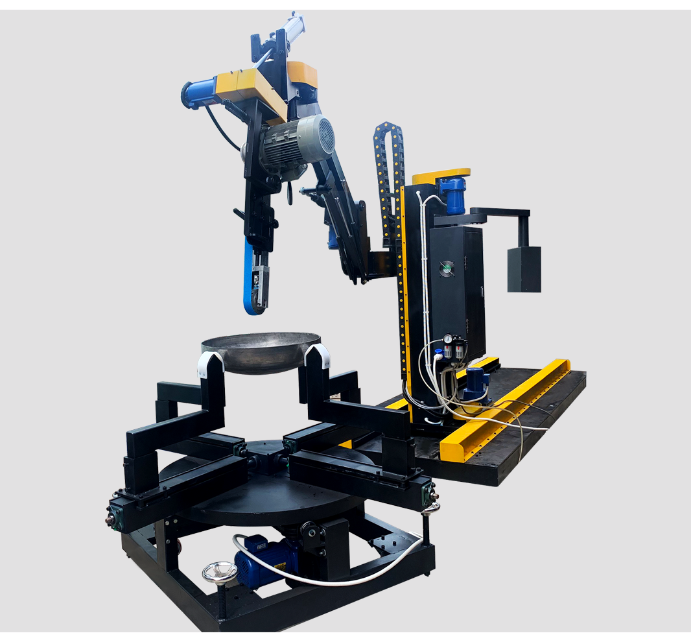
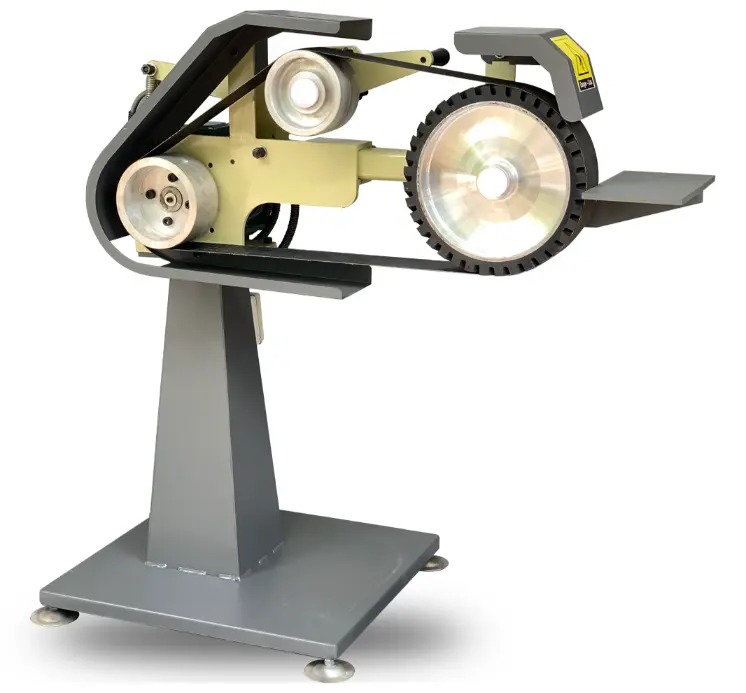
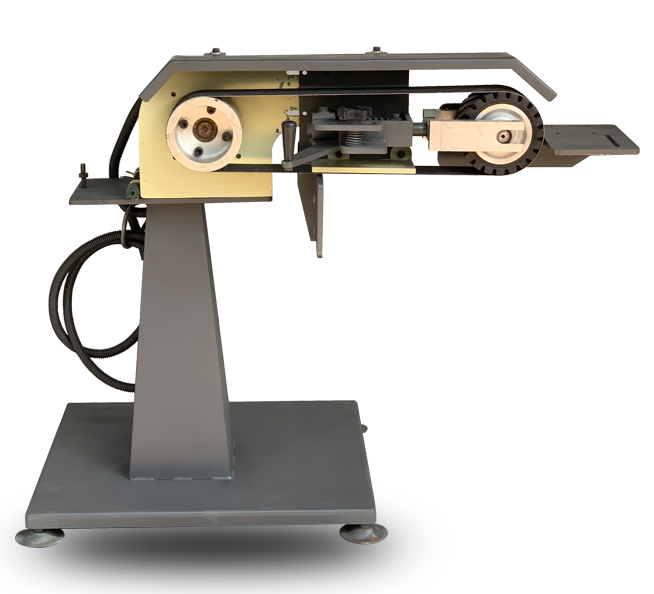
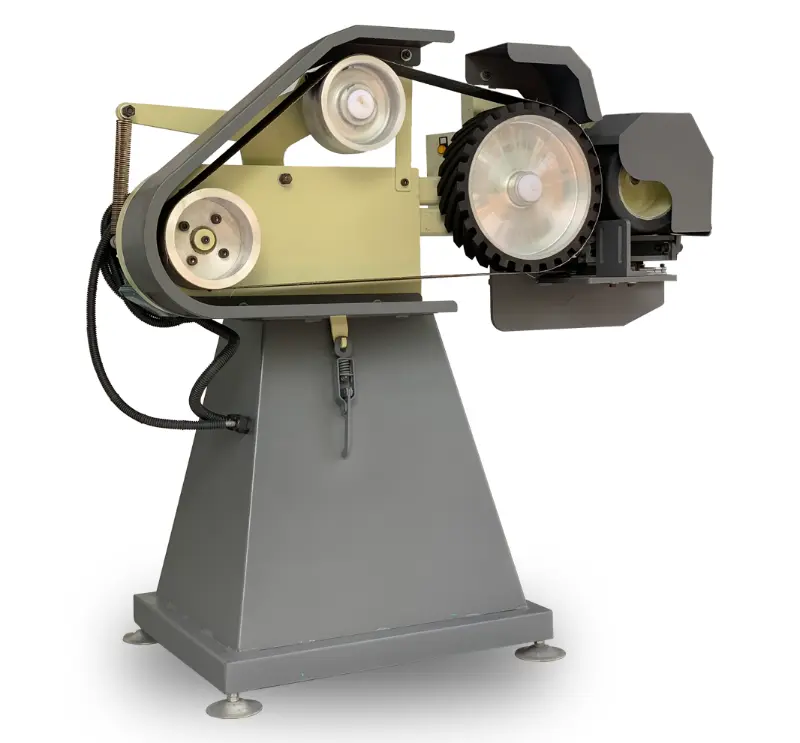
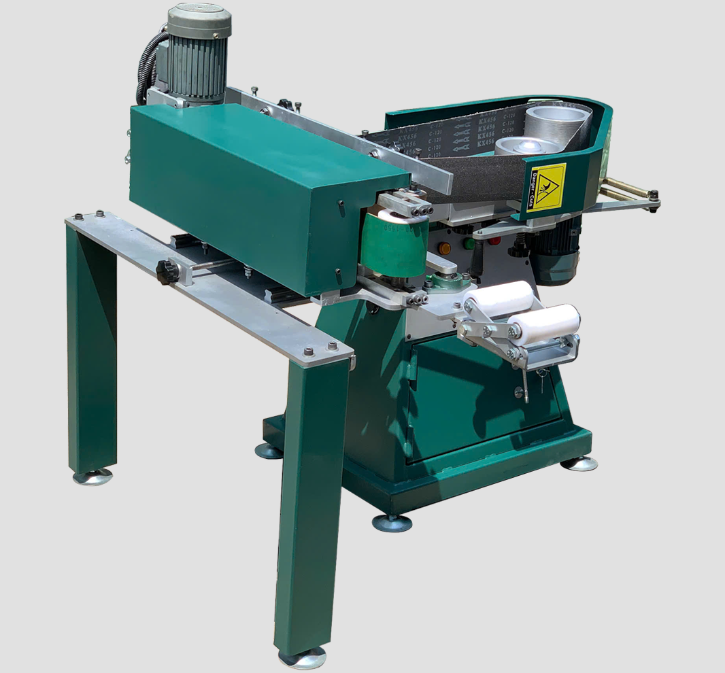
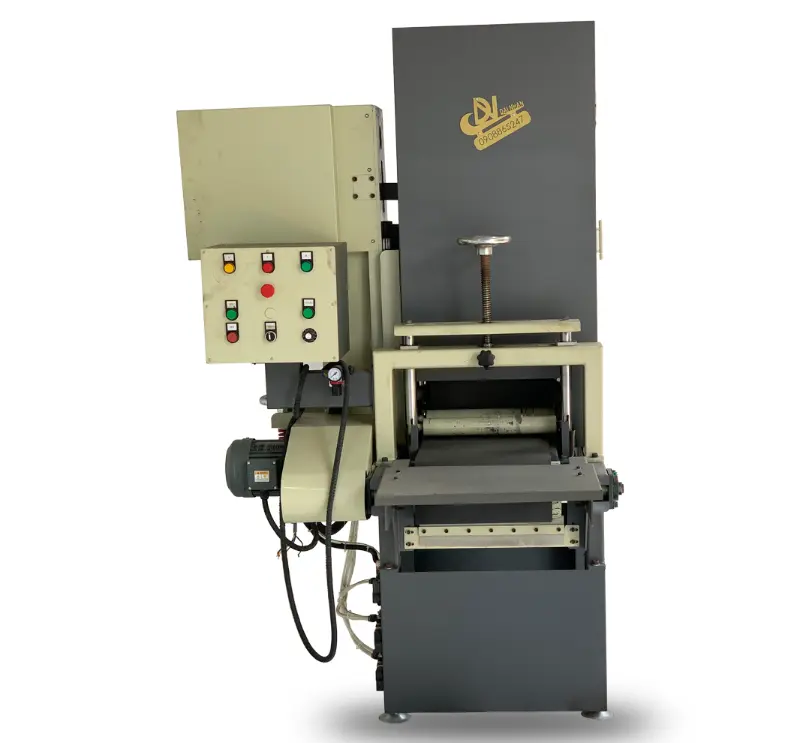
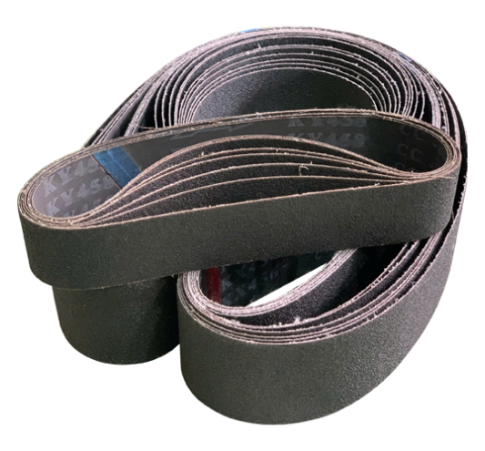
Metal also needs a different belt. Zirconia or ceramic belts cut steel and stainless far better than the standard belts sold for wood. Work in short passes, because the part heats up fast and can burn fingers. If metal work becomes a daily job rather than an occasional one, an industrial belt sander for metal with a fixed table and proper extraction is the safer tool.
Signs the Sander Is Not Being Used Properly
The machine usually tells you when something is wrong. Dark burn marks on wood mean too much pressure or a clogged belt. Shallow dips mean the sander stopped moving for a moment or tipped at the end of a board. A belt that clogs within minutes on pine is a sign of heat, and learning how to clean a belt sander belt will only buy time if the pressure stays the same. A motor that slows and whines is being pushed harder than it should be, and belts that keep snapping at the joint point to old stock, wrong direction or bad tracking.
Choosing a Heavy Duty Belt Sander for Daily Use
Proper technique cannot make a small tool do a big job. A light 3 by 21 inch handheld sander is right for doors, shelves and small repairs. Floors, big tabletops and daily trade use call for a heavy duty belt sander with a wider belt, a stronger motor and a heavier body that holds itself flat. Factories that sand the same part all day go one step further, moving to fixed machines where the belt speed, pressure and path are the same for every piece.
Conclusion
Knowing how to use a belt sander properly starts before the motor runs. Fit the belt with its arrow matching the rollers, set the tracking, clamp the work, clear away metal fasteners and keep the cord behind you. While sanding, use both hands, land the sander flat, keep it moving and lift it off before stopping. Before touching metal, empty the dust bag and switch to a belt made for steel. Burn marks, dips and snapping belts are the signs that one of these habits has slipped.
When sanding and grinding run all shift on steel and stainless, Dai Nhan Machinery builds industrial belt sanders and grinders in Vietnam with the guarding, dust extraction and fixed setups that make proper use the default rather than a habit to remember. Browse the range on Our Machines page, or tell our engineering team what you sand and how many parts a shift and we will suggest a setup.
Read more: What Tools Are Needed for Metal Fabrication? A Practical Overview


BOLA BAG's BLOG YOU MAY ALSO BE INTERESTED IN
Partnering with Dai Nhan OEM Engineering for the Industrial Belt Sander Machine
How to Sand With a Belt Sander on Tabletops, Edges, Curves and Old Paint
Why Global Manufacturers Invest in Heavy-Duty Industrial Belt Disc Sander