


A roll of abrasive cloth costs a fraction of a box of finished belts, and the maths is tempting. Cut a strip to length, glue the ends together, and you have a belt for a few cents. People have been doing exactly this in home workshops for decades, and some of them get belts that run for hours. Many more get a belt that runs for thirty seconds, snaps at the joint and wraps itself round a roller. Knowing how to make your own sanding belts is mostly knowing how to make the joint, why it fails and when the whole exercise makes sense. This guide covers the method that works best, the joints people try, the risks, and the cases where a custom made belt from a factory is the better answer.
How to Make Your Own Sanding Belts
The method below is the one most makers settle on after trying the alternatives. It needs a roll of cloth backed abrasive in the width you want, a straight edge, a sharp knife, a strong flexible adhesive and something to clamp the joint flat while it cures.
Measure the Length Around the Rollers
Fit the machine with a known belt and read the size, or run a string around the rollers with the tension set at its working position and measure it flat. Cut the strip slightly longer than that, because the joint will take up a little length. Knowing how to measure sanding belts accurately matters more here than with a bought belt, since there is no standard size to round to.
Cut Both Ends at the Same Angle
Never join a belt with a square cut. Cut both ends at a matching angle, usually somewhere between 30 and 45 degrees, so the joint crosses the belt on a slant. An angled joint passes over the platen a little at a time instead of hitting it as one hard line, which is the difference between a belt that runs smoothly and one that thumps.
Sand the Grit Off the Overlap
Where the two ends will overlap, sand or scrape the grit off one end and thin the backing on the other so the joint is no thicker than the rest of the belt. A lump at the joint marks the work on every turn and puts extra strain on the glue.
Glue the Joint and Clamp It Flat
Apply a strong flexible adhesive to both faces, line the ends up so the belt stays straight, and clamp the joint between two flat blocks until it has fully cured. A joint that is even slightly out of line makes the belt steer to one side and walk off the rollers. If a finished belt still wanders, the same checks that answer why does my belt keep coming off my belt sander apply to a homemade belt too.
Back the Joint With Tape or Cloth
Most makers add a strip of thin, strong tape or a fabric patch across the joint on the back of the belt. It spreads the load and stops the joint from peeling as the belt bends around the rollers. Some use iron on mending patches from a sewing shop, pressed on with a household iron.
Why Homemade Belt Joints Fail
Factory belts are joined with a lap or butt joint made under heat and pressure with adhesives and joint tapes chosen for the backing. A home joint has none of that. The glue is either too hard and cracks as the belt bends, or too soft and creeps under tension. The ends are rarely perfectly aligned, so the belt tracks badly and its edge rubs the housing. Heat from sanding softens the adhesive, and one hot pass on steel can undo an hour of careful gluing. Bought belts fail at the joint for many of the same reasons, from old glue to damp storage, as anyone who has asked why does my belt sander keep breaking belts soon finds out. Belts made from paper backed rolls tear at the joint almost immediately, which is why cloth backing is the only sensible starting point. Even on cloth, expect to lose a few belts while you find the glue, the angle and the clamping pressure that work for your machine, and write down what worked so the next batch is faster.
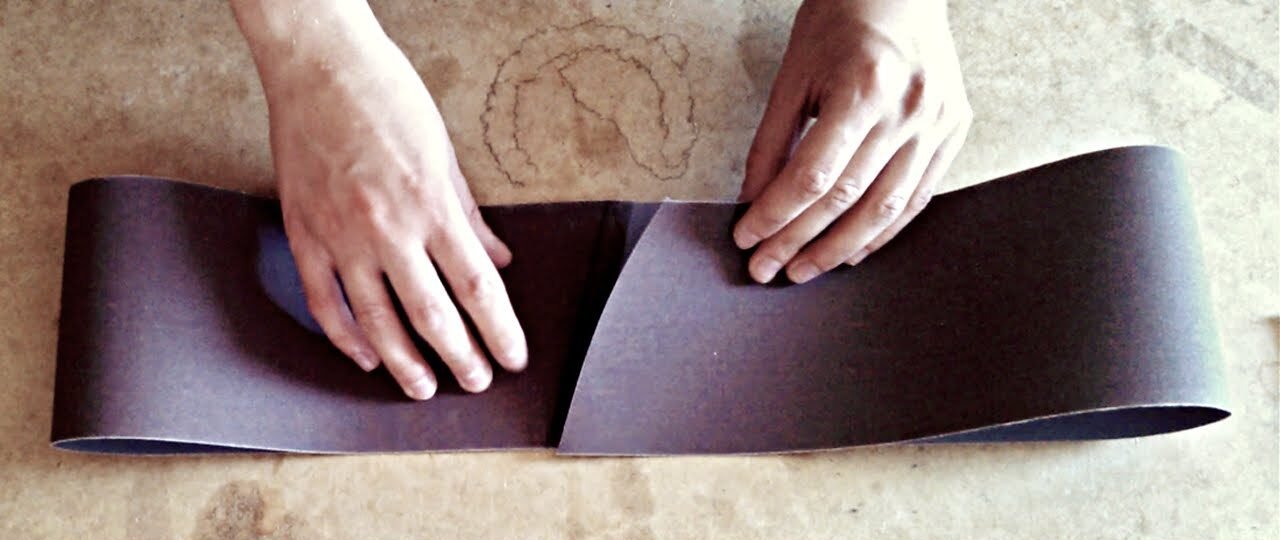
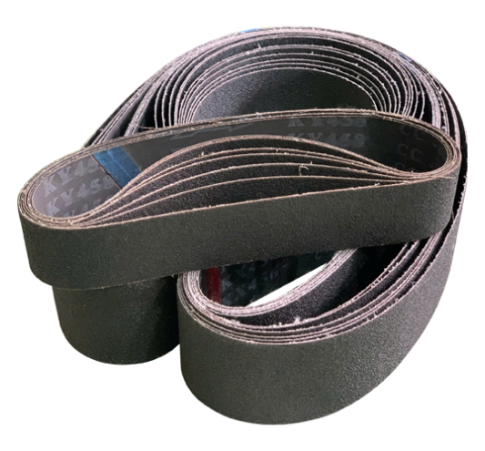
Homemade Sanding Belt
There is also a safety question. A belt that lets go at full speed whips across the machine and can take a finger or an eye with it. On small, slow bench sanders the risk is modest. On a fast grinder with a long belt it is a real reason not to try. On an industrial belt grinder that runs long belts for a full shift, a homemade joint is simply not worth the risk. Whatever the machine, stand to one side when a homemade belt first runs up to speed and let it turn for a minute with nothing against it before you trust it.
When Making Your Own Belts Makes Sense
It is worth doing in three situations. When a machine takes an odd size that no supplier stocks, a homemade belt keeps it running. When you want to test an unusual grit or grain before buying a box, a single homemade belt is a cheap experiment. A roll bought for occasional use also ages like boxed belts, and how long do sanding belts last on the shelf depends on the same heat and humidity. And on a small, slow sander used for light work, the savings can add up if the joints hold. For everything else, especially fast machines and metal work, the time spent making belts costs more than the belts save, and the failures cost more still.
Custom Made Belts as a Better Solution
The reason most people try making belts is not the price of an ordinary belt. It is that their machine takes a size, grain or backing nobody stocks. That problem has a better solution.
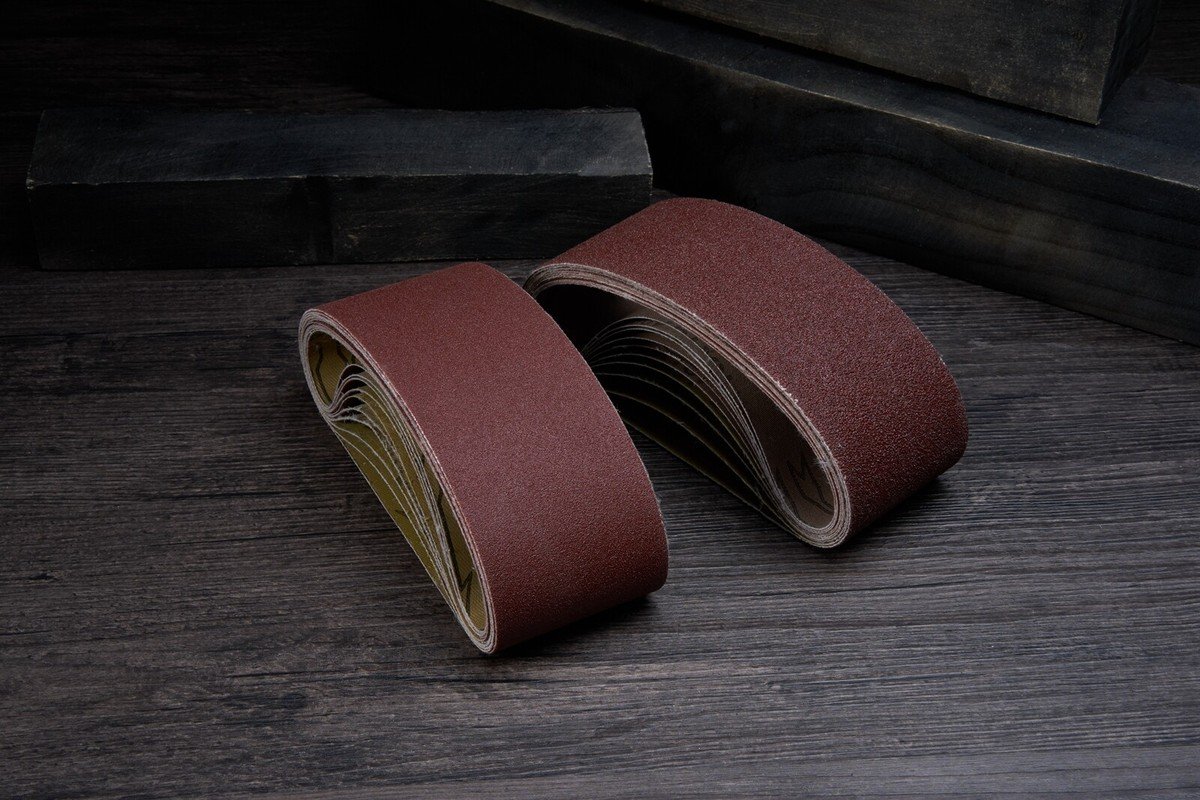
Custom Made Sanding Belts
Belt makers, including some sandpaper factories that cut from the same jumbo rolls, will make belts to order in almost any width and length, with a factory joint that survives heat and speed. Small runs cost more per belt than a standard size, but far less than the downtime of a joint failing mid job.
Conclusion
How to make your own sanding belts comes down to one joint: an angled cut, thinned overlaps, a flexible adhesive clamped flat and a strip of tape or cloth across the back. Done well on cloth backed abrasive, it can keep a slow sander with an odd belt size running. It rarely holds up to heat, speed or metal, and a failed joint on a fast machine is dangerous. For odd sizes and hard materials, a belt made to order with a factory joint is cheaper in the end.
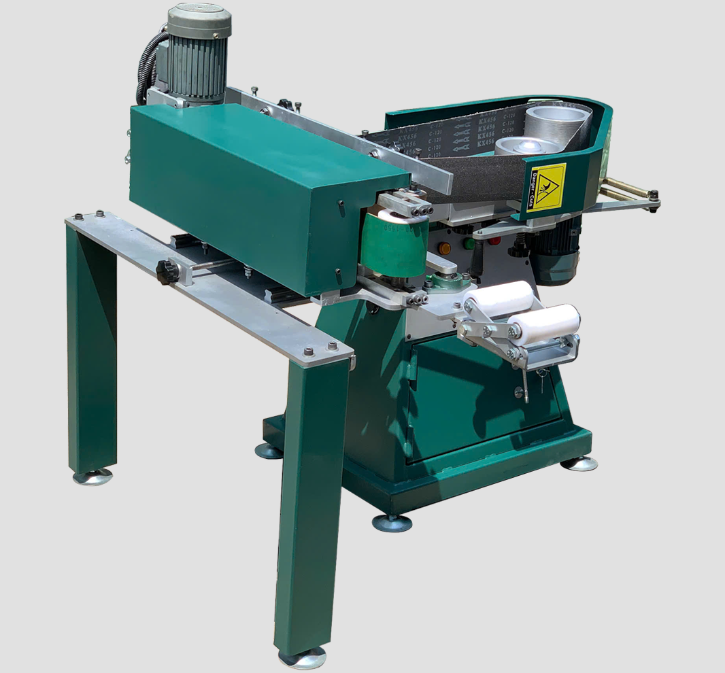
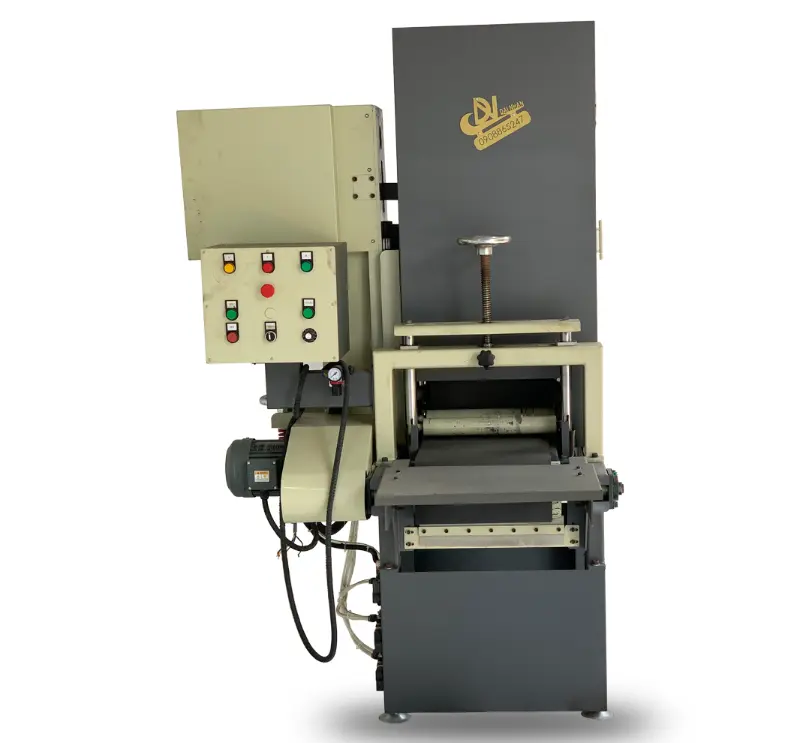
When a machine needs a belt no standard size fits, Dai Nhan Machinery makes custom sanding belts in Vietnam to the exact length, width, grain and backing, alongside the industrial belt grinders that run them. See our custom made sanding belts on Our Machines page, or send us your belt size and what you grind and we will quote a belt that holds.
Read more: How to Change Grinder Belt Without Wrecking the Tracking


BOLA BAG's BLOG YOU MAY ALSO BE INTERESTED IN
Versatility in Metalworking: The Power of an Industrial Belt and Disc Sander
What Belt Sander for Knife Making? How to Choose Between 1×30, 2×42 and 2×72 Machines
How to Change Grinder Belt Without Wrecking the Tracking