


Changing a belt should take ninety seconds. It usually takes ten minutes the first few times, because the belt goes on backwards, or it walks off the wheel the moment the motor starts, or the tension arm was never fully released and the splice tears on the way on. None of that is difficult to avoid once you know what the machine is doing. Knowing how to change grinder belt correctly is mostly about a handful of checks that happen before the new belt touches a wheel, and about understanding why the belt tracks where it tracks.
How to Change Grinder Belt: First Decide Which Belt You Mean
The phrase covers two very different jobs, and the search results for it are split between them, so it is worth being precise.
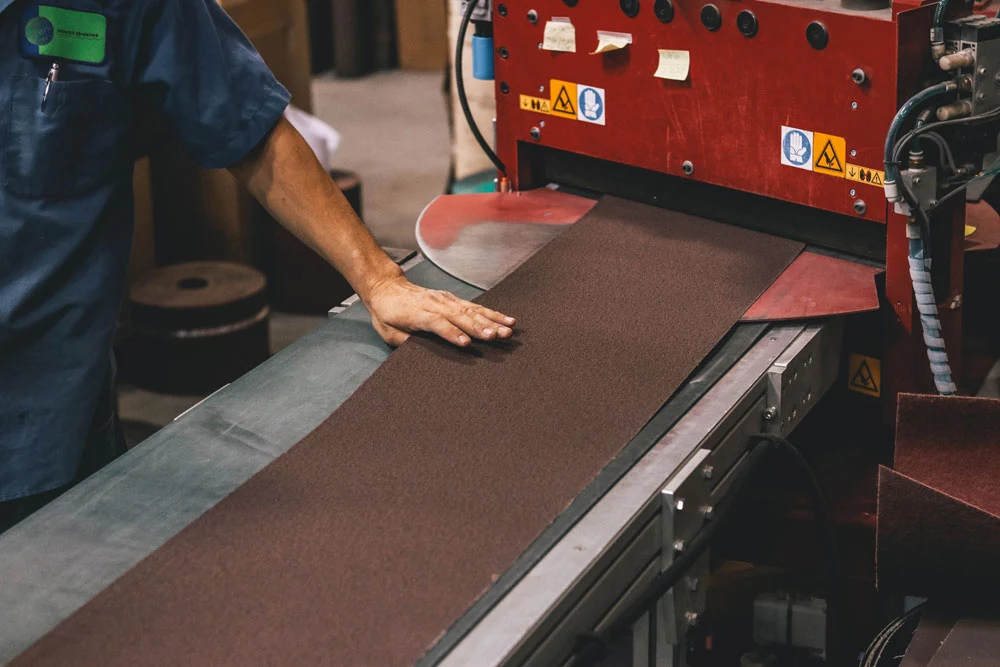
Custom Made Sanding Belts
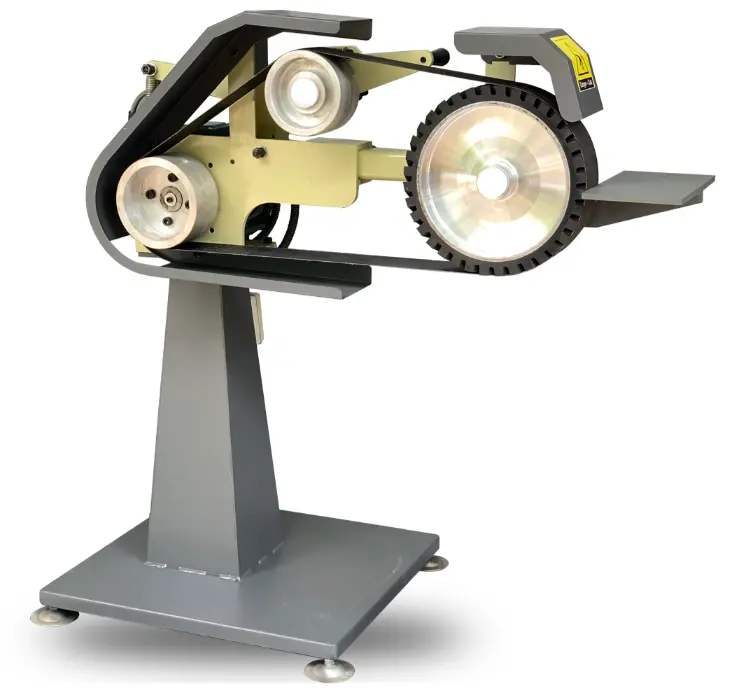
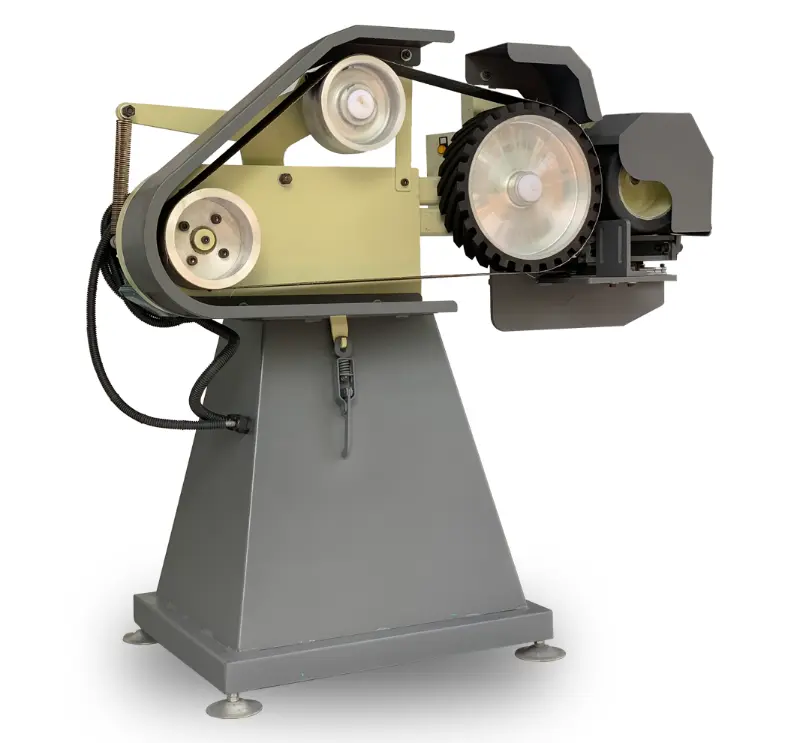
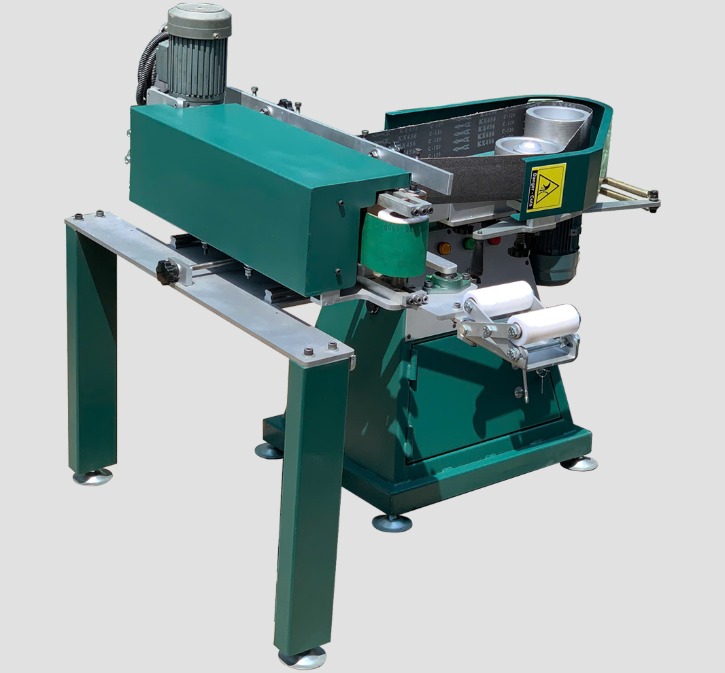
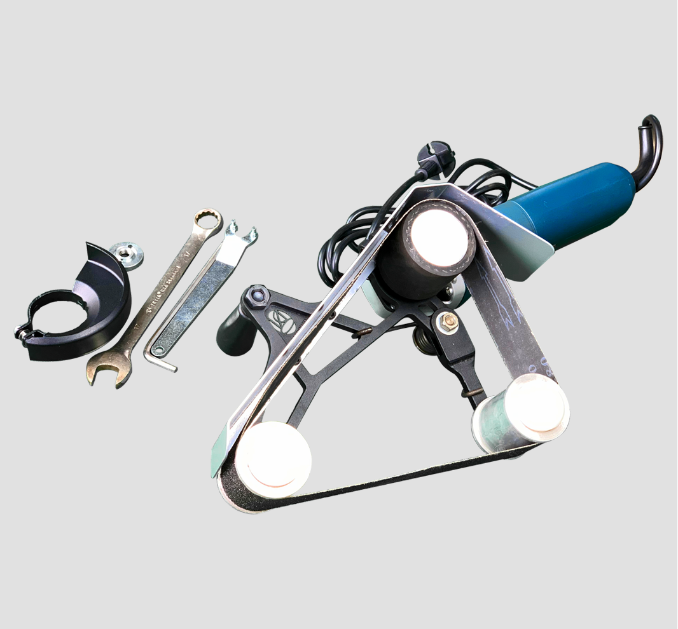
On a belt grinder, belt sander, or linisher, the belt is the abrasive itself: a loop of cloth or polyester backing coated with grit, running over a drive wheel, an idler, and usually a platen or contact wheel, and that loop is the whole answer to what is a belt grinder, because the belt is the tool. It wears out in hours and is changed constantly, and that is what this guide covers. On an angle grinder, bench grinder, or stump grinder, the belt is a rubber drive belt hidden inside the machine that transmits power from the motor, and it wears out over years. The two share nothing except the word. If you are looking for the second kind, the answer is in the machine’s service manual, not here.
When a Belt Actually Needs Changing and How Long Do Sanding Belts Last
Most people change belts too late, because a dull belt does not stop cutting, it just cuts slowly and hot. Three signs are reliable. Look at the belt under light. A fresh belt has a matte, slightly sparkling surface. A glazed one has a shiny band, often down the centre, where the grit has been worn flat. It will still remove material if you lean on it, and leaning on it is exactly what burns the workpiece and blues the steel. Glazing is the signal to change, not the signal to push harder.
Loading Happens When Soft Metal Fills the Abrasive
Soft materials, aluminium especially, fill the gaps between grains with smeared metal until the belt is effectively a smooth surface carrying a thin layer of the workpiece. A rubber cleaning stick will revive a loaded belt several times, but once the loading returns within a minute of cleaning the belt is finished.
Splice and Edge Damage
Run a finger along the joint where the belt was made into a loop. If the edge of the splice has lifted or the backing has started to fray at either edge, retire the belt now. A splice that lets go at speed throws the belt off the machine, and on a 2×72 running at several thousand feet per minute that is a genuine injury risk.
Changing the Belt Step by Step
Step 1: Kill the Power Properly
Switch off at the machine, then unplug it or lock out the isolator. On a machine with a variable frequency drive, switching off at the front panel is not enough, because the drive can restart on a fault reset. The lockout habit is not overkill for a home shop. It is the baseline that industrial shops are held to under rules such as the OSHA standard for the control of hazardous energy, and the reason those rules exist is that belt changes are exactly the moment when hands are inside a machine.
Step 2: Release the Tension and Remove the Old Belt
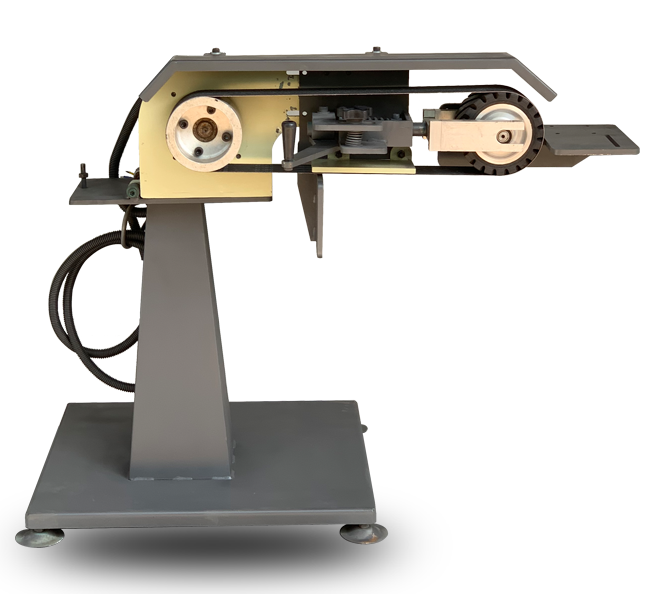
Every belt grinder has a tensioning arm, a lever, or a spring loaded idler that pulls the belt tight. Release it fully, not partly. A belt pulled off against residual tension stretches the backing at the splice and will not track properly if it is ever refitted. Slide the old belt off the wheels, and while it is off, look at what it was running on.
Step 3: Inspect the Wheels and Platen
This is the step that decides whether the new belt tracks. Brush or blow the grit and dust off the drive wheel, the tracking wheel, and any contact wheel. Check that the rubber on the contact wheel has not glazed or cracked, and that the platen face is flat and not grooved. A groove worn into a platen will steer every belt you fit toward the groove. Spin each wheel by hand and feel for roughness in the bearings, because a bearing that is starting to go will show up as a belt that will not stay put.
Step 4: Fit the New Belt the Right Way Round
Look on the inside of the belt for the direction arrow. The arrow must point the way the belt will travel, which on almost every grinder means the abrasive surface moves downward past the platen toward the operator. Fitted backwards, the splice runs into the workpiece edge first instead of trailing, and it will catch and tear within minutes. Slip the belt over the wheels, centre it by eye, and then re engage the tension arm fully. The belt should feel firm across its span, with only a few millimetres of give under a thumb.
Step 5: Track It Before You Use It
Stand to the side of the machine, never in line with the belt, and bump the power on for a second at low speed. Watch which way the belt drifts. The tracking wheel is mounted on a pivot with an adjustment knob, and turning it tilts the wheel so the belt climbs toward the higher side. Adjust in quarter turns, bump the power again, and repeat until the belt runs centred with the machine at full speed. It should stay there without drifting for at least ten seconds before you touch steel to it.
Why Does My Belt Keep Coming Off My Belt Sander
Nine times out of ten, a belt that walks off after a change is telling you something about the machine rather than about the belt.
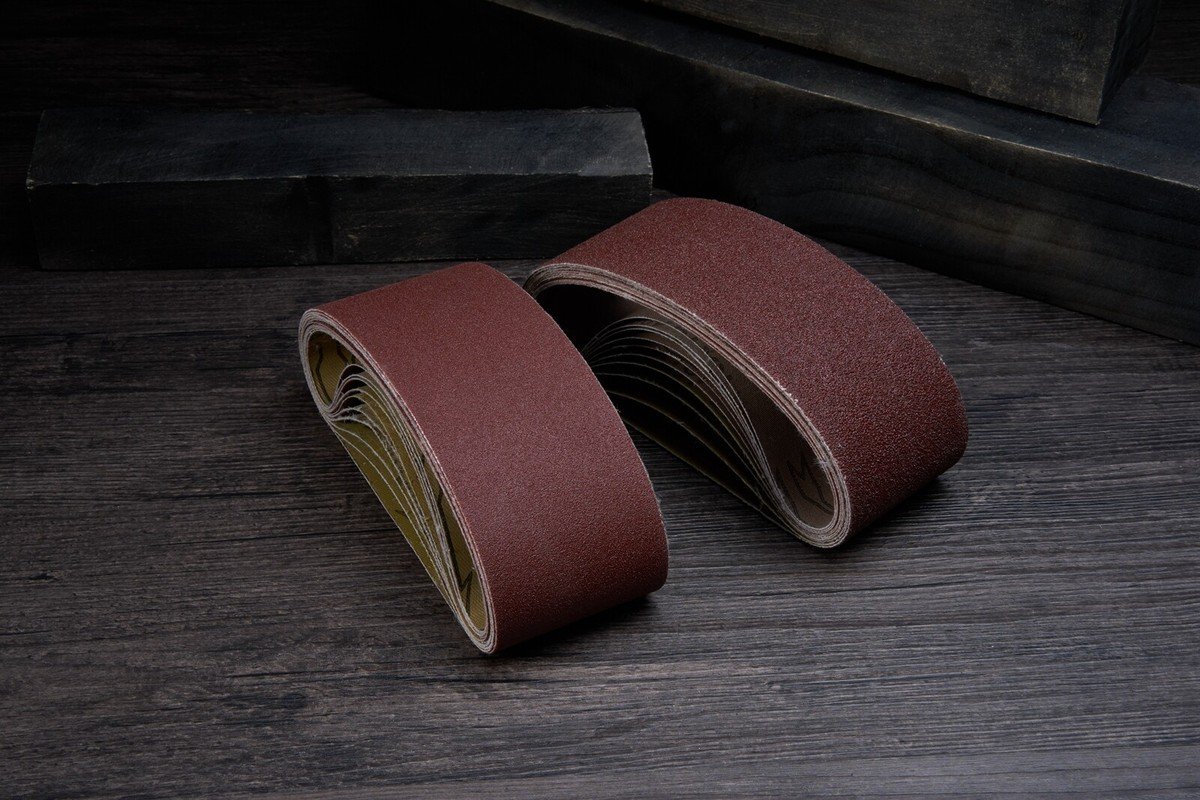
Custom Made Sanding Belts
Uneven tension is the usual cause. If the tension arm is not fully seated or the spring has weakened, the belt is slack on one edge and tight on the other and it will climb toward the tight side. The second cause is a contact wheel or platen that is not square to the frame, which is why the inspection in step three matters. The third is a belt stored badly: hung on a nail over a sharp edge or left in a damp shop, the backing takes a set and the belt runs oval. Store belts flat or on a wide dowel, in a dry place, and rotate stock so the oldest get used first. If none of those is the cause and the machine has always tracked well until now, suspect a bearing.
Choosing the Next Belt From a Belt Sander Supplier
A belt change is also the moment to decide whether the belt you just took off was the right one in the first place. Coarse belts from 36 to 60 grit are for hogging material and profiling. 80 to 120 refines the profile. 220 and up is for finishing and for the final passes before hand sanding or polishing. The classic mistake is trying to do everything on one 120 grit belt, which is too slow for stock removal and too coarse for a finish. Coarse, medium, fine is the same rule whether you are learning how to sand with a belt sander on a portable machine or running belts on a bench grinder.
Abrasive Type: Aluminium Oxide or Zirconia or Ceramic
Aluminium oxide is the general purpose choice and the cheapest. Zirconia cuts faster on steel and lasts longer under pressure. Ceramic belts are the premium option for hardened and stainless steel, self sharpening as the grains fracture, and they are what most professional knife makers run for everything below 120 grit. For the finishing end, cork belts, felt belts, and Scotch Brite style belts all fit the same machine and produce very different surfaces.
Size and Splice: How to Measure a Belt Sander Belt Before Ordering
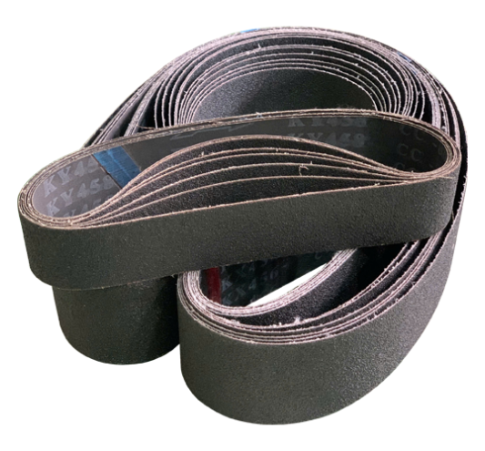
Measure the old belt rather than guessing, because a belt even a few millimetres short will not fit and one a few millimetres long will not tension. The splice type matters more than most people realise: a butt joint with a tape backing runs smoothest over a platen, while an overlap splice is stronger on a contact wheel but thumps slightly on a flat platen. Shops running a lot of belts usually standardise on one type and buy them made to length, which is what custom made sanding belts are for.
Conclusion
Knowing how to change grinder belt properly comes down to the two steps most people skip. Lock the machine out before your hands go near the wheels, and inspect the wheels and platen while the old belt is off, because that is where tracking problems come from. Then fit the belt with the arrow pointing the right way, tension it fully, and track it at low speed from the side before it ever touches steel. Change belts when they glaze rather than when they stop cutting, keep the grit progression honest, and store belts flat. Do that and the ninety second belt change becomes exactly that.
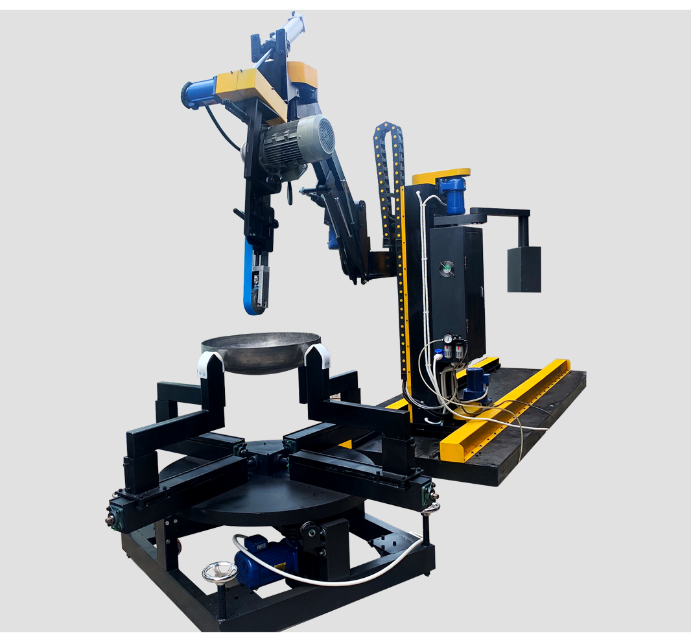
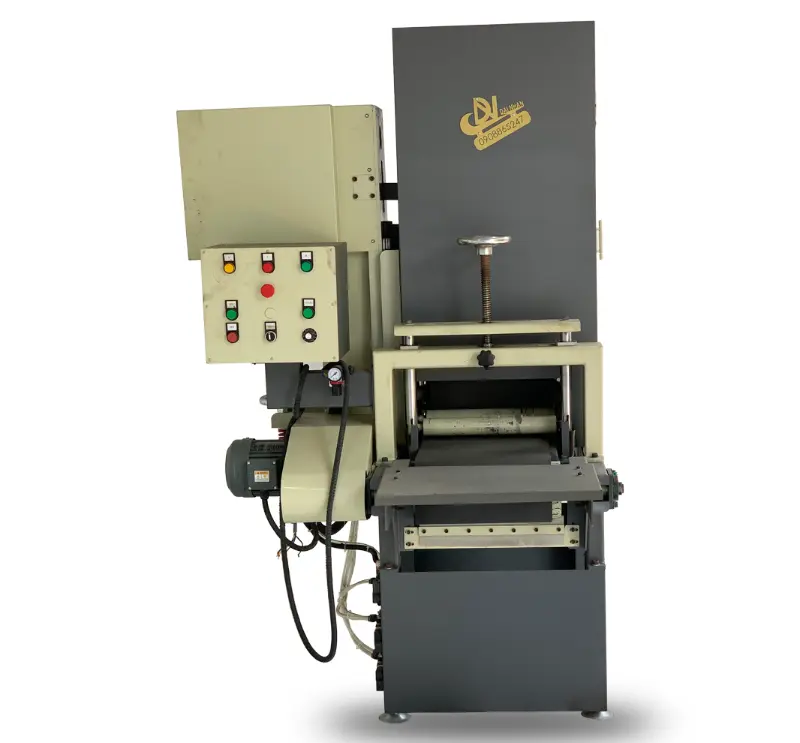
If belt changes have become a production cost rather than a workshop chore, Dai Nhan Machinery builds belt grinding and polishing equipment designed around fast changeover and consistent belt supply. Browse the range on Our Machines page to see what fast changeover looks like in practice. Or tell our engineering team what you are grinding and how many belts a shift it takes and we will suggest a setup.
Read more: How to Use a Belt Sander Step by Step: A Complete Beginner’s Guide


BOLA BAG's BLOG YOU MAY ALSO BE INTERESTED IN
What Are Belt Sanders Used For? Nine Jobs From Rough Boards to Steel Plate
Cross-Border Supply Chains: Navigating Regulatory Compliance for Export-Standard Industrial Belt Sander
How OEM/ODM Plate Graining Machine Improves Industrial Surface Adhesion