



Knowing how to sand with a belt sander is one of those skills that quietly separates a rough workpiece from a finished one. The machine removes material fast, which is exactly why it rewards good technique and punishes careless handling. A few seconds of drifting attention can gouge a panel that took an hour to prepare. This guide walks through the setup, the grit sequence, the hand movement, and the habits that keep a surface flat instead of wavy, whether we are working in softwood, hardwood, or steel.
What a Belt Sander Actually Does to a Surface
It is worth understanding the cutting action before touching the controls, because almost every technique rule further down follows directly from it. The machine behaves very differently from the sanders most people learn on first.
The Mechanics Behind the Moving Belt
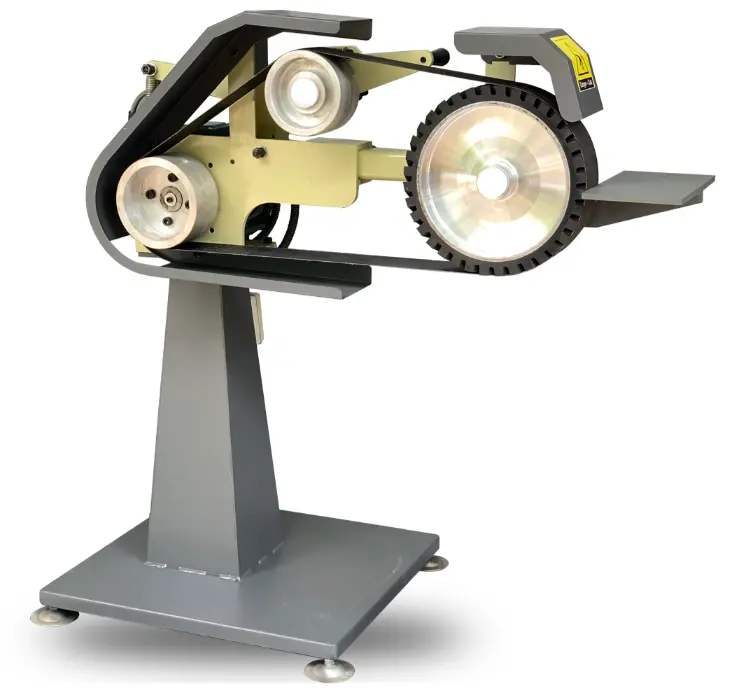
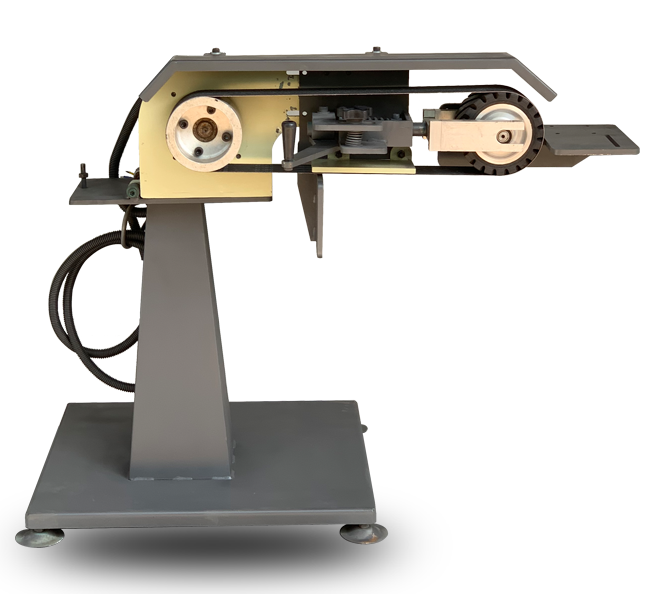
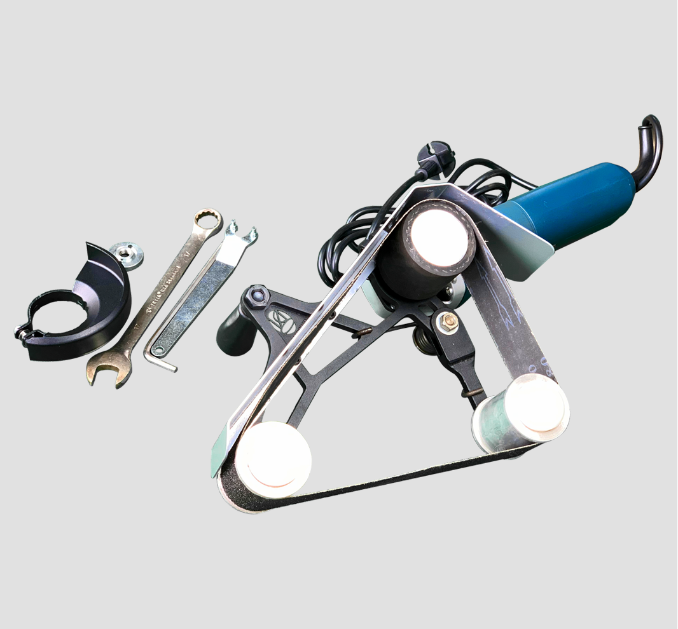
A belt sander drives a continuous abrasive loop around two drums, one powered and one idling. The abrasive travels in a single direction at high speed, so every grain that touches the workpiece cuts a shallow parallel scratch.
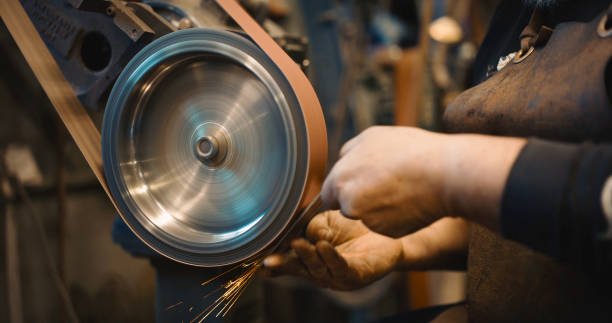
Belt Sander
Because the cut is linear rather than random, the machine flattens far faster than an orbital sander, and it leaves a scratch pattern that runs with the belt. That pattern is predictable, which is good news. Once we understand how to sand with a belt sander along the grain, the scratches disappear into the material instead of standing out under a finish.
Where a Belt Sander Beats Other Sanders
Reach for this machine when the job involves volume. Leveling a glued panel, taking mill scale off plate, stripping old varnish, squaring an edge, or knocking down a weld bead are all tasks where an orbital sander would take four times as long. Where it loses is delicate work. Thin veneer, moldings, and final polishing belong to a random orbit or a detail sander. If the choice is not obvious, it helps to understand what is a belt grinder and how the grinder family overlaps with sanders in heavier metalworking shops.
Setting Up Before the Belt Ever Touches the Work
Most ruined workpieces are actually ruined during setup rather than during sanding. Five minutes here saves the twenty it takes to sand out a gouge, assuming the gouge is shallow enough to sand out at all.
Securing the Workpiece and the Bench
A belt sander pushes the workpiece away from the operator with real force, so anything that is not clamped will travel. Two clamps at opposing corners, a bench stop, or a vise all work, and a rubber mat under a wide panel adds useful friction. Sweep the bench first and check the surface for nail heads, staples, or grit, because a single embedded fastener will tear a belt in one pass. Good overhead lighting matters more than most people expect, since raking light is the only reliable way to see a dip forming before it becomes permanent.
Safety Gear That Is Not Optional
Sealed safety glasses come first, because the belt throws dust and hot particles forward at speed. A rated respirator follows, especially with old painted surfaces or exotic hardwoods. Hearing protection is sensible during long sessions. Tie back hair, button sleeves down or roll them off entirely, remove rings and bracelets, and keep the cord routed behind the working hand. Dust collection is worth connecting even on small jobs, because airborne dust settles on the surface and gets dragged back into the finish as fine scratches.
Choosing the Right Belt and Grit Sequence
Grit choice decides the outcome before the motor starts, and belt condition decides whether that choice survives contact with the work. Both are far cheaper to get right than to correct afterwards.
Matching Grit to the Job
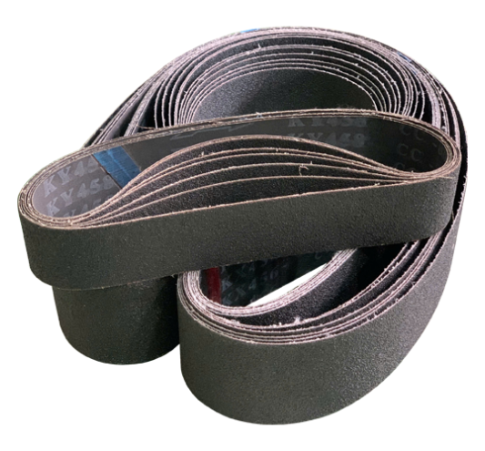
Grit selection decides the outcome before we switch the machine on. Coarse belts in the 36 to 60 range strip finishes, level rough stock, and remove weld spatter. Medium belts from 80 to 120 refine what the coarse pass left behind. Fine belts of 150 and above prepare a surface for stain, paint, or plating. Grit numbering follows published abrasive standards, and the CAMI and FEPA grading systems are not identical, so a P120 European belt and a 120 CAMI belt are close but not interchangeable at the finer grades.
Reading Belt Wear Before It Costs Us
A dull belt is the single most common cause of a burned or wavy surface, because operators respond to slower cutting by pressing harder. Look for glazing, a shiny loaded band across the abrasive, frayed edges, or a splice that has begun to lift. Loaded belts can often be revived with a rubber cleaning stick. Belts that have stretched or lost tension should simply be replaced. Keeping a labeled set of fresh belts sorted by grit near the machine removes the temptation to push a worn one through one more job.
How to Sand With a Belt Sander Correctly
With the work clamped and the right belt fitted, the job comes down to two things: how the machine first meets the surface, and how it keeps moving once it is there.
Starting the Cut and Keeping the Machine Moving
Start the motor with the belt clear of the work and let it reach full speed. Lower the rear of the platen onto the surface first, then bring the whole platen flat as the machine begins to move forward. Never set a running belt down flat from a standstill, and never stop the machine while it rests on the work.
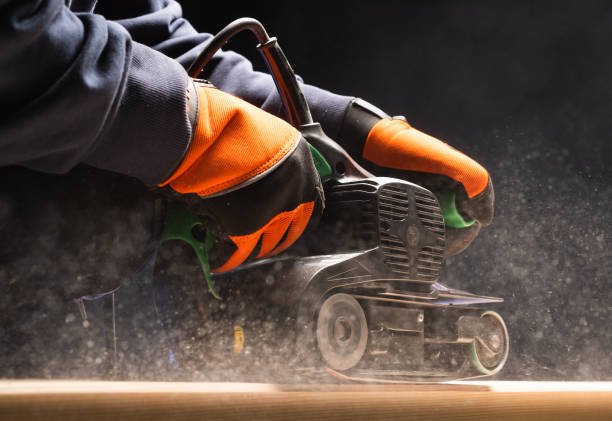
Carpenter works with belt sander
Move at a steady walking pace, roughly one hundred millimetres per second, and overlap each pass by about one third of the belt width. The full sequence is broken down further in our guide on how to use a belt sander step by step.
Controlling Pressure, Angle, and Direction
The machine supplies the pressure. Our job is to guide it and keep the platen parallel to the surface. Downward force flexes the platen, digs the leading edge in, and produces the shallow scooped hollows that only reveal themselves under a finish. On wood, sand with the grain. Across the grain the belt cuts faster but leaves scratches that are extremely difficult to remove later. On a wide panel, work in overlapping lanes, then finish with one light pass that runs the full length in a single continuous motion.
Sanding Metal Versus Sanding Wood
Everything so far applies to both materials. Metal then changes the abrasive, the speed, and the failure mode, and it is the failure mode that catches people out.
Adjusting Speed, Abrasive, and Pressure for Steel
Metal changes the rules. Aluminium oxide belts handle mild steel, zirconia suits heavier stock removal, and ceramic belts hold up on stainless. Slower belt speeds and lighter contact keep the workpiece from overheating. Many shops assume the tool is for wood only, so it is worth checking whether can you use a belt sander on metal applies to a given machine, and the practical test results in do belt sanders work on metal are a useful reality check before committing to a belt type.
Heat, Discoloration, and Belt Loading
Heat is the enemy on stainless and thin sheet. Blue or straw colored bands mean the surface has been burned, and on stainless that discoloration also damages the passive layer. Keep the workpiece moving, take lighter passes, and let the part cool rather than pushing through. Aluminium and other soft metals load a belt quickly, filling the abrasive with smeared material. A stearate coated belt helps, as does clearing the abrasive regularly. Fabricators building out a first metal shop often find the equipment overview in what tools are needed for metal fabrication a helpful reference point.
Mistakes That Ruin an Otherwise Good Finish
Three errors account for most ruined workpieces, and all three come from the same instinct to hurry. Dwelling in one place cuts a hollow within seconds, because the belt keeps removing material whether the machine is travelling or not. Tilting so only one edge of the platen contacts the surface leaves a long ridge that is nearly impossible to sand out later, and it usually happens when the operator leans into a corner. Skipping grits, for example jumping from 60 straight to 150, leaves deep scratches that the fine belt polishes rather than removes, so they stay invisible until stain or clear coat goes on and then reappear across the whole panel.
The fix for all three is the same discipline. Move through the grit sequence in order, keep the platen flat and the machine travelling, and inspect under raking light between every grit rather than at the end. A defect caught at 80 grit costs a minute to correct. The same defect found after the first coat of finish usually costs the part.
When a Handheld Machine Is No Longer Enough
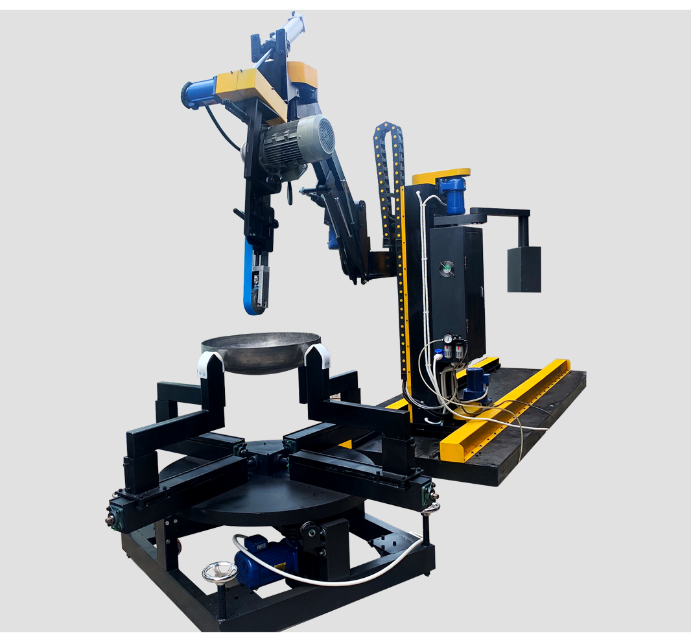
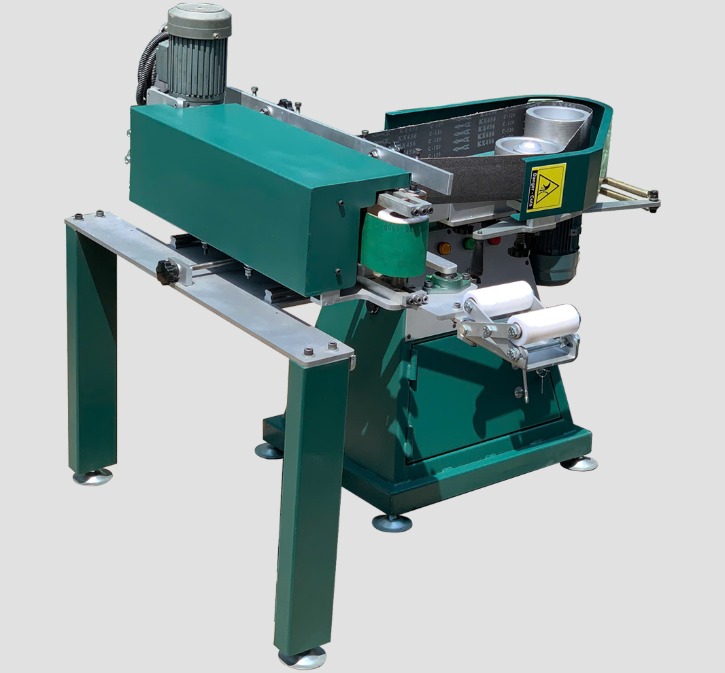
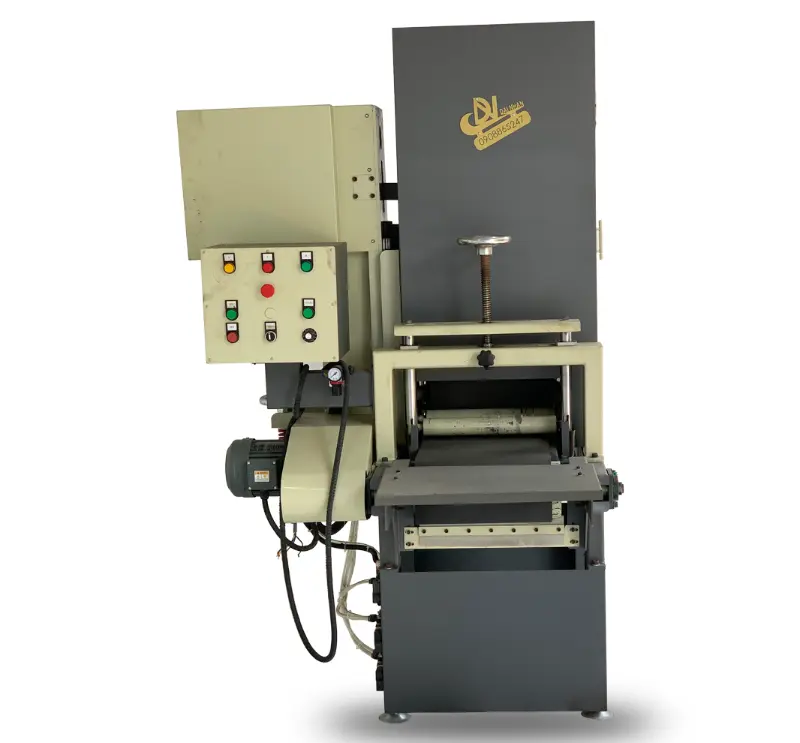
There is a point where technique stops being the limiting factor. Repeating the same finish across hundreds of parts, holding a consistent scratch pattern on stainless, or grinding thick plate all exceed what a portable tool can hold. That is where a stationary industrial belt sander earns its place, and shops working in steel usually specify an industrial belt sander for metal rather than a general purpose machine. Where both stock removal and edge work happen at one bench, an industrial belt and disc sander covers both in a single footprint.
Conclusion
Learning how to sand with a belt sander comes down to a short list of disciplines. Clamp the work, wear the gear, pick the right abrasive, keep the platen flat, keep the machine moving, and respect the grit sequence. Let the belt cut rather than forcing it, watch for heat on metal, and retire belts before they glaze. Those habits produce flat, even surfaces consistently instead of occasionally, and they carry across from a garage bench to a production line.
If the work has outgrown a portable tool, Dai Nhan Machinery builds belt sanding and grinding equipment for production metalworking, from bench units to fully custom configurations. Browse the range on Our Machines, or contact our engineering team with your part drawings and finish specification, and we will recommend a setup built around your process.


BOLA BAG's BLOG YOU MAY ALSO BE INTERESTED IN
How Are Metal Pipes Made? Inside Seamless and Welded Pipe Production
Top OEM/ODM Grinding Wheel Manufacturers for Global Industrial Supply Chains
Partnering with Dai Nhan OEM Engineering for the Industrial Belt Sander Machine