


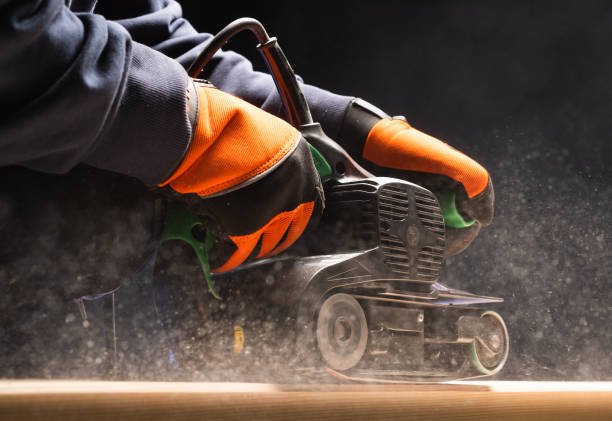
Learning how to use a belt sander step by step can save us hours of hand sanding and give our woodworking or metalworking projects a clean, professional finish. Whether we’re flattening a rough tabletop or stripping old paint off a door, a belt sander is one of the fastest tools we can reach for. This guide walks us through everything from safety basics to grit selection so we can get confident, even results every time.
What Is a Belt Sander and When Should We Use One
How a Belt Sander Works
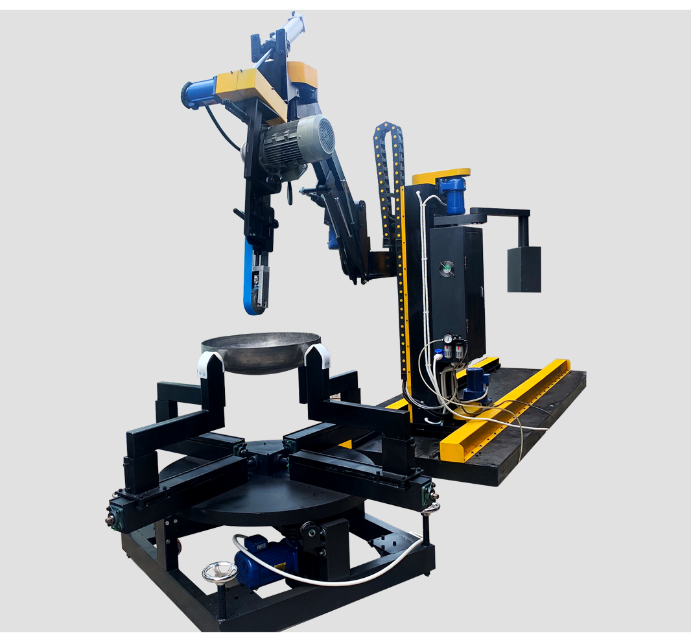
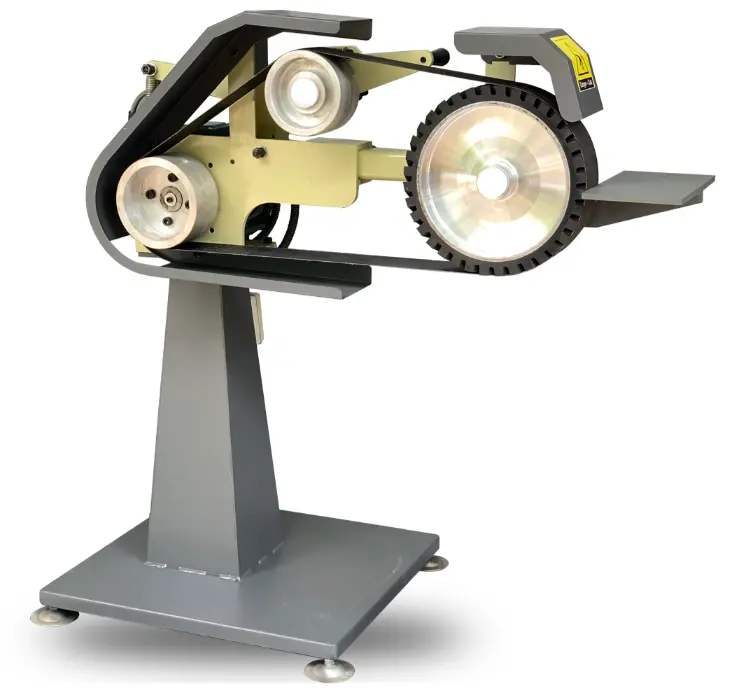
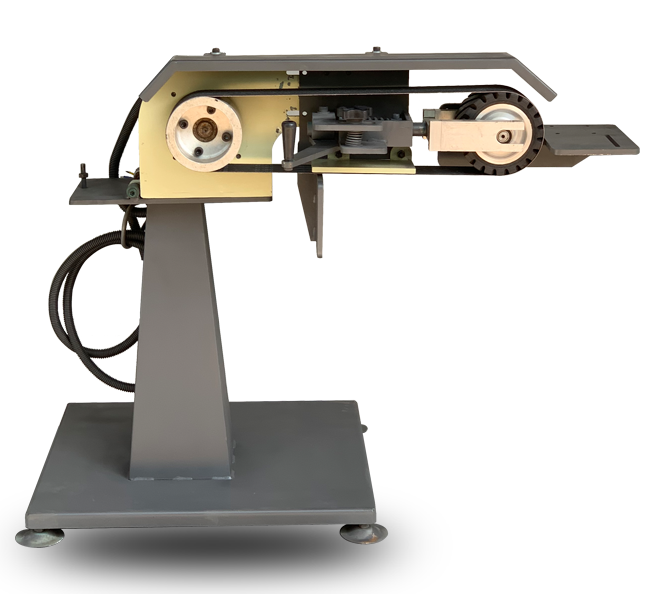
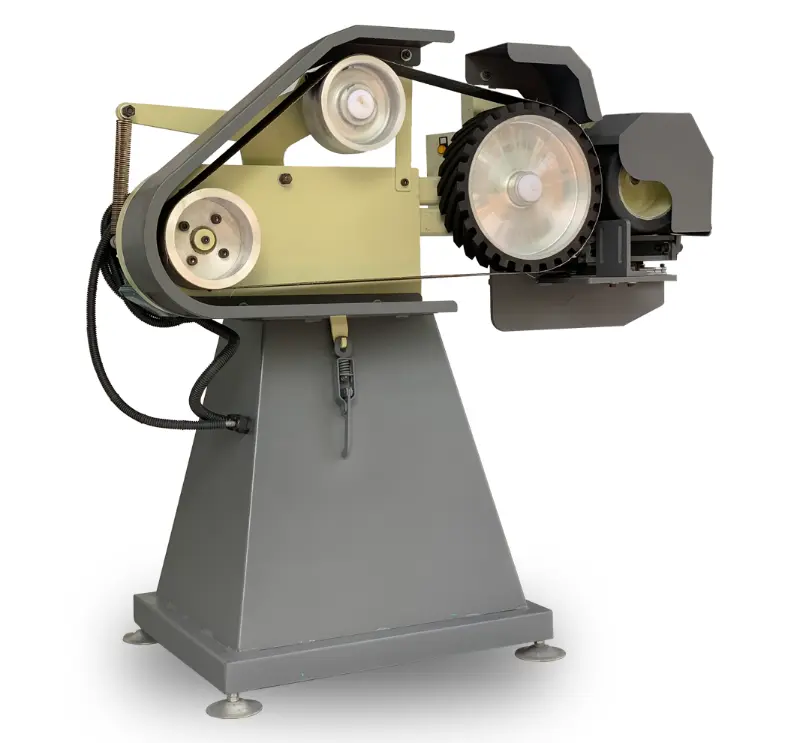
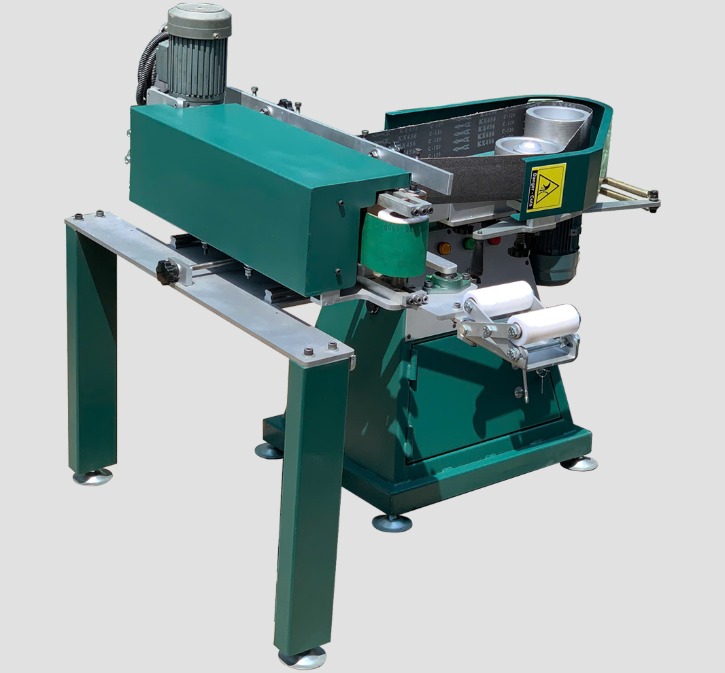
A belt sander is a power tool that uses a continuous loop of sandpaper stretched between two rotating drums to remove material quickly and aggressively. Unlike orbital or detail sanders, which move in small circular or vibrating patterns and are better suited for light finishing work, a belt sander moves in one continuous direction and covers material at a much faster rate. This makes it ideal for tasks like leveling rough boards, removing old finishes or paint, smoothing down uneven joints, and shaping edges on larger workpieces. This guide breaks down how to use a belt sander step by step so we can approach each of these tasks with confidence.
Choosing Between Handheld and Stationary
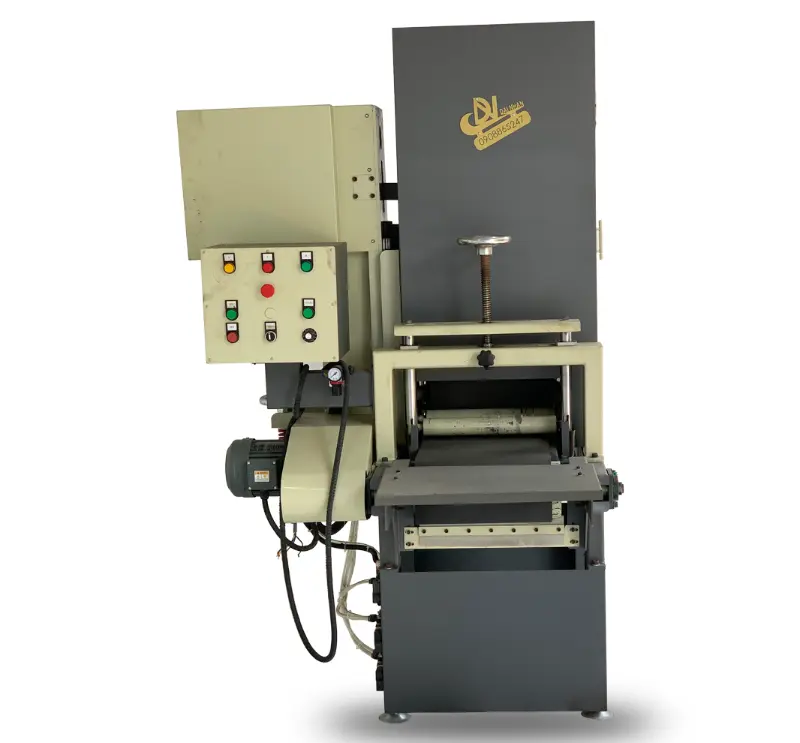
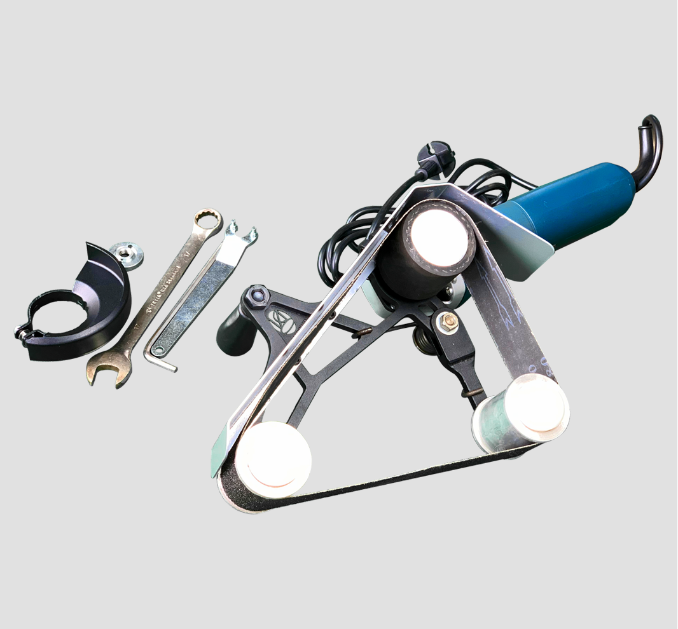
Understanding this difference helps us decide when an industrial belt sander is the right choice versus a gentler alternative. If we only need to smooth a small area or apply a final polish, an orbital sander might be a better fit. But when we’re dealing with heavy material removal or rough, unfinished surfaces, the belt sander is usually the tool that gets the job done fastest.
Safety Gear and Precautions We Need Before Starting
Protective Gear to Put On First
Before we even plug in a belt sander, it’s worth taking a few minutes to prepare properly. Safety glasses are essential since sanding throws off a surprising amount of debris and fine dust. A good dust mask or respirator protects our lungs, especially when working with certain woods or old finishes that may contain lead based paint. Hearing protection is also a smart addition, as belt sanders can be quite loud during extended use. Getting these basics right is the first real move in learning how to use a belt sander step by step, since safety habits set the foundation for everything else.
Clothing and Personal Preparation
We should also think about our clothing. Loose sleeves, dangling jewelry, or untied long hair can easily get caught in the moving belt, so it’s best to wear fitted clothing and tie back hair before starting. Beyond personal gear, our workspace matters too. Good ventilation helps clear dust from the air, and keeping the area free of clutter, flammable materials, and dust buildup reduces the risk of accidents. A clean, organized space makes the entire sanding process safer and more efficient.
Choosing the Right Sandpaper Belt for the Job
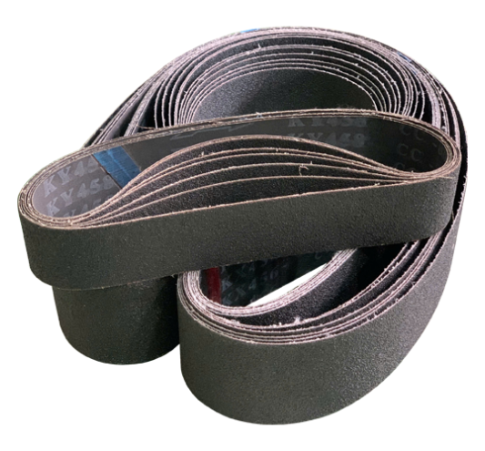
Sanding belts come in a range of grits, and choosing the right one makes a significant difference in our results. Coarse grits, typically in the 40 to 60 range, are best for heavy material removal, such as stripping old finishes or leveling rough lumber. Medium grits, around 80 to 120, work well for general smoothing and preparing a surface for finer sanding. Fine grits, from 150 and up, are used for final smoothing before staining or finishing. Knowing how to use a belt sander step by step really begins here, since picking the correct grit shapes every result that follows.
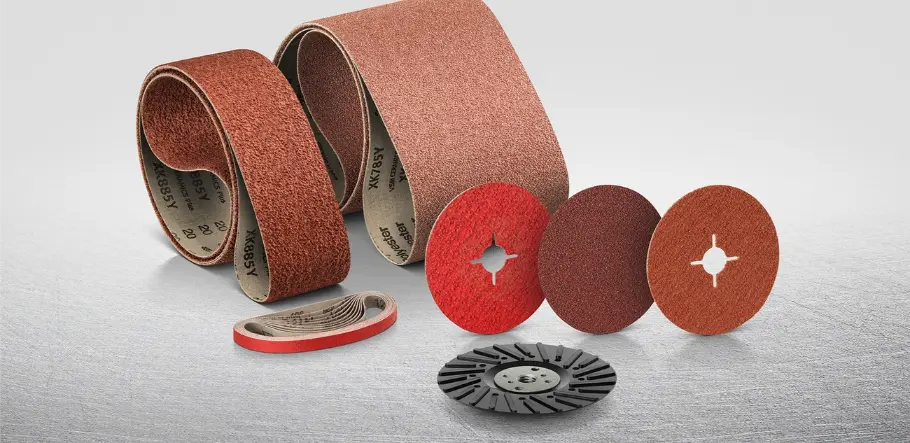
Abrasive Grain Types For Metal – Dai Nhan Machinery
It’s also important to make sure the belt size matches our specific sander model, since belts come in various lengths and widths. Before installing a belt, we should inspect it for signs of wear, such as fraying edges, thinning abrasive material, or a stretched out fit. A worn belt won’t sand evenly and can even slip or snap during use, so replacing it promptly is always worth the small investment.
Using a Belt Sander Step by Step
With the workspace set up and the right belt selected, the job itself breaks into five stages. Each one builds on the last, so it is worth working through them in order the first few times.
Step 1: Preparing the Workpiece and Work Surface
Good preparation sets the tone for the entire sanding job. We should secure our workpiece firmly using clamps or a vice so it doesn’t shift while we’re working. It’s also worth checking the surface for embedded nails, screws, or debris that could damage the belt or cause a dangerous kickback. Setting up a stable, flat work surface gives us better control and more even results. Good lighting is equally important, since it helps us spot uneven spots, swirl marks, or missed areas as we go. Taking a few extra minutes here can prevent frustrating mistakes later in the process, and it’s a habit worth building into every attempt at how to use a belt sander step by step.
Step 2: Installing and Aligning the Sanding Belt
Installing a new belt starts with releasing the tension lever or mechanism on the sander, which allows the rollers to relax enough for the belt to slide on. Once the belt is positioned over both rollers, we tension it again according to the manufacturer’s instructions.
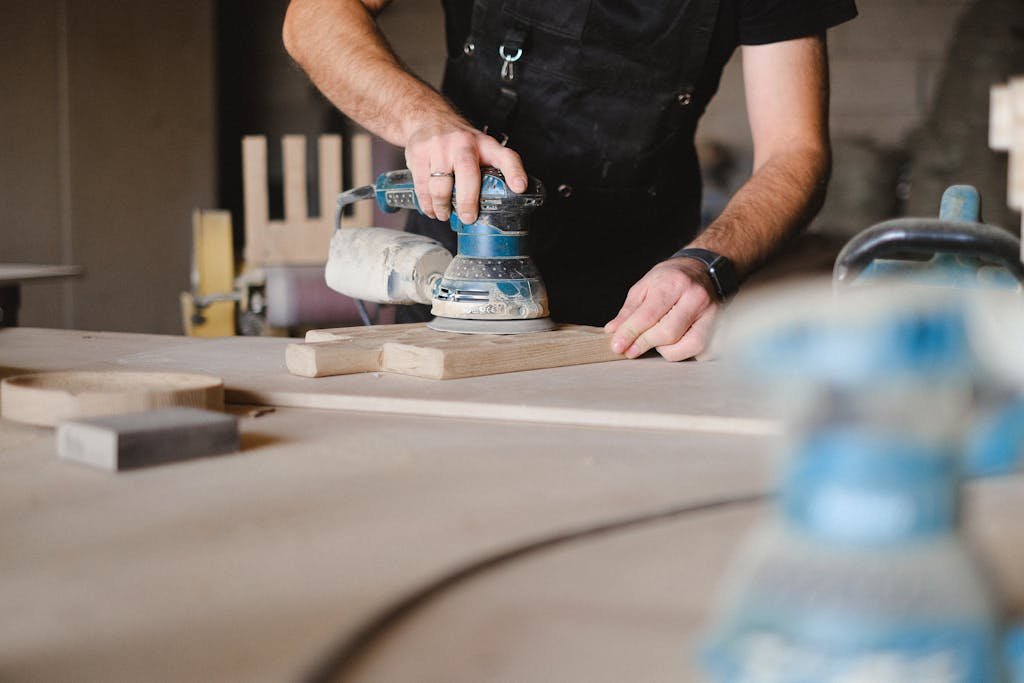
Belt Sander Supplier – Dai Nhan Machinery
After installation, it’s important to check the belt’s tracking. Most belt sanders have a tracking knob that lets us adjust the belt so it runs centered on the rollers rather than rubbing against the housing or drifting to one side. We can usually test this by briefly powering on the sander while holding it up and observing how the belt moves, adjusting the knob until it tracks straight and true.
Step 3: Powering On and Getting a Feel for the Tool
Before touching the sander to our workpiece, we should start it while it’s lifted away from the surface. This lets the belt reach full speed and gives us a moment to get comfortable with the tool’s weight, vibration, and handling. Belt sanders are heavier and more powerful than smaller sanding tools, so taking a moment to understand how it feels in our hands helps us maintain better control once we begin sanding. This kind of careful, methodical approach is really what learning how to use a belt sander step by step is all about.
Step 4: Sanding Technique for Even Results
Once we’re ready to begin, we hold the sander firmly with both hands, using the front handle and rear grip for balance. We move it in straight, overlapping passes along the direction of the wood grain, letting the tool’s own weight do most of the work rather than pressing down hard. Keeping the sander moving at all times is key. Stopping in one spot, even briefly, can create a gouge or a noticeably thin area. Smooth, steady movement across the surface helps us achieve an even, consistent finish without dips or ridges.
Step 5: Working Through Different Grits Progressively
For the best results, we start with a coarser grit to remove material quickly, then move to progressively finer grits to refine the surface. Between each grit change, it’s worth pausing to check the surface for remaining rough spots or scratches from the previous grit. Removing dust thoroughly before switching belts is also important, since leftover debris can interfere with the new belt’s performance or scratch the surface. This step by step progression, from coarse to fine, is what produces that smooth, professional looking finish we’re aiming for.
Common Mistakes to Avoid While Belt Sanding
A few common errors can undo an otherwise careful sanding job. Tilting the sander instead of keeping it flat often creates uneven grooves. Staying in one spot too long, even for a few seconds, can quickly gouge the material. Sanding against the grain tends to leave visible scratches that are difficult to remove later, and pressing down with excessive force doesn’t speed up the process, it usually just creates uneven surfaces or swirl marks. Avoiding these habits is a big part of learning how to use a belt sander step by step effectively, and being mindful of them helps us maintain smoother, more consistent results throughout the project.
Maintaining Your Belt Sander for Long Term Performance
Like any power tool, a belt sander performs best when it’s properly maintained. Regularly cleaning dust from the vents helps prevent overheating and keeps the motor running efficiently. Checking belt tension before each use ensures consistent performance and reduces the chance of slippage. Storing the tool in a dry, clean space protects it from dust buildup and moisture damage. Finally, replacing worn belts as soon as we notice fraying or thinning helps us maintain even results and avoid unnecessary strain on the motor. Good maintenance habits are just as much a part of how to use a belt sander step by step as the sanding technique itself.
Consistency in parts helps too. Buying belts, platens, and drive wheels from a single belt sander supplier keeps sizing predictable and makes it far easier to source replacements for an older machine years after you bought it.
Equip Your Workshop With the Right Sander
Good technique only takes you as far as the machine allows. Dai Nhan Machinery builds industrial belt sanders for workshops and production lines, with OEM and ODM support for distributors. If you are outgrowing a handheld unit or specifying a stationary machine for daily use, talk to Dai Nhan Machinery about motor power, belt size, and the tracking and dust extraction that make long sessions bearable.
Conclusion
Learning how to use a belt sander step by step comes down to preparation, technique, and patience. From choosing the right grit to keeping the tool moving in smooth, even passes, each step plays a role in the final result. Practicing on scrap wood before tackling a real project is a great way to build confidence and get a feel for the tool’s power and rhythm. With the right safety precautions, proper belt selection, and steady technique, we can use a belt sander to achieve smooth, professional looking surfaces on all kinds of projects. Taking the time to work through grits progressively and avoiding common mistakes will make a noticeable difference in our results. The more we practice, the more natural the process becomes, and soon this powerful tool will feel like a reliable part of our everyday toolkit.
Read more: The B2B Blueprint for Ordering OEM ODM Custom Made Sanding Belts


BOLA BAG's BLOG YOU MAY ALSO BE INTERESTED IN
Top 4 Abrasive Belt Grinding Machine Manufacturers in Asia
How to Use a Belt Sander Step by Step: A Complete Beginner’s Guide
What Is a Belt Sander Used For? Jobs It Does Well and Jobs Better Left to Other Tools